
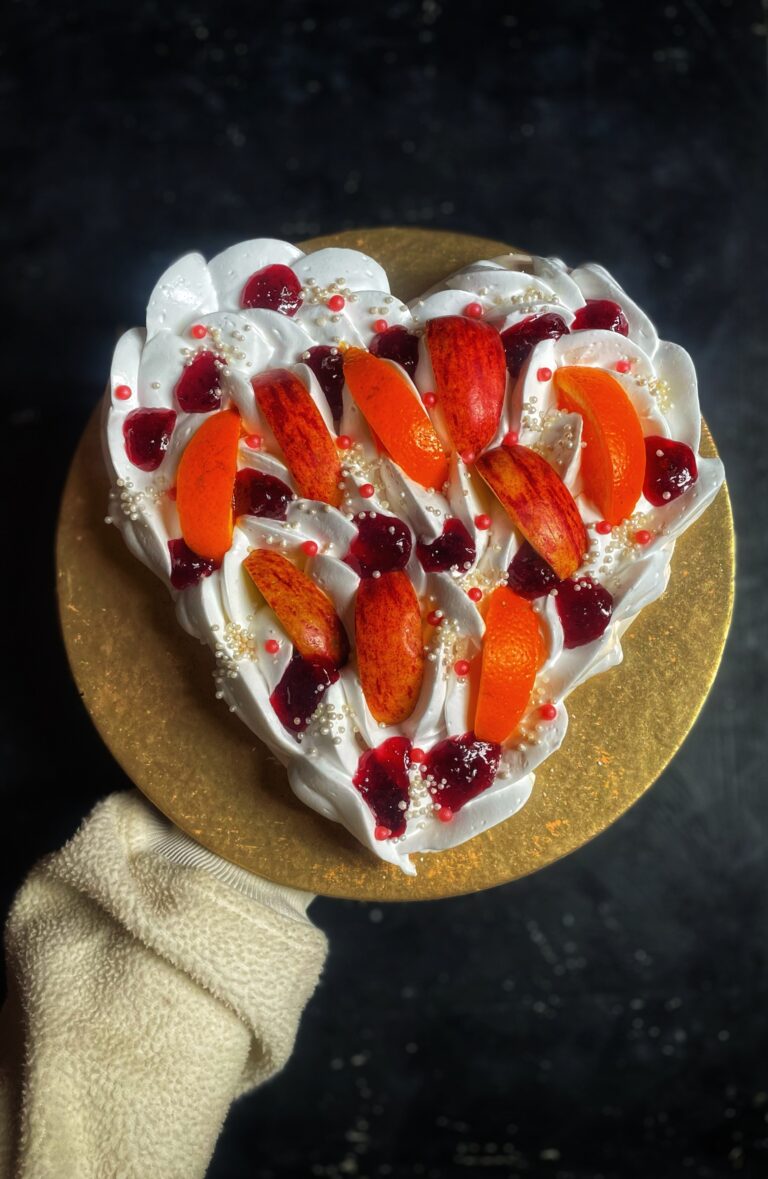

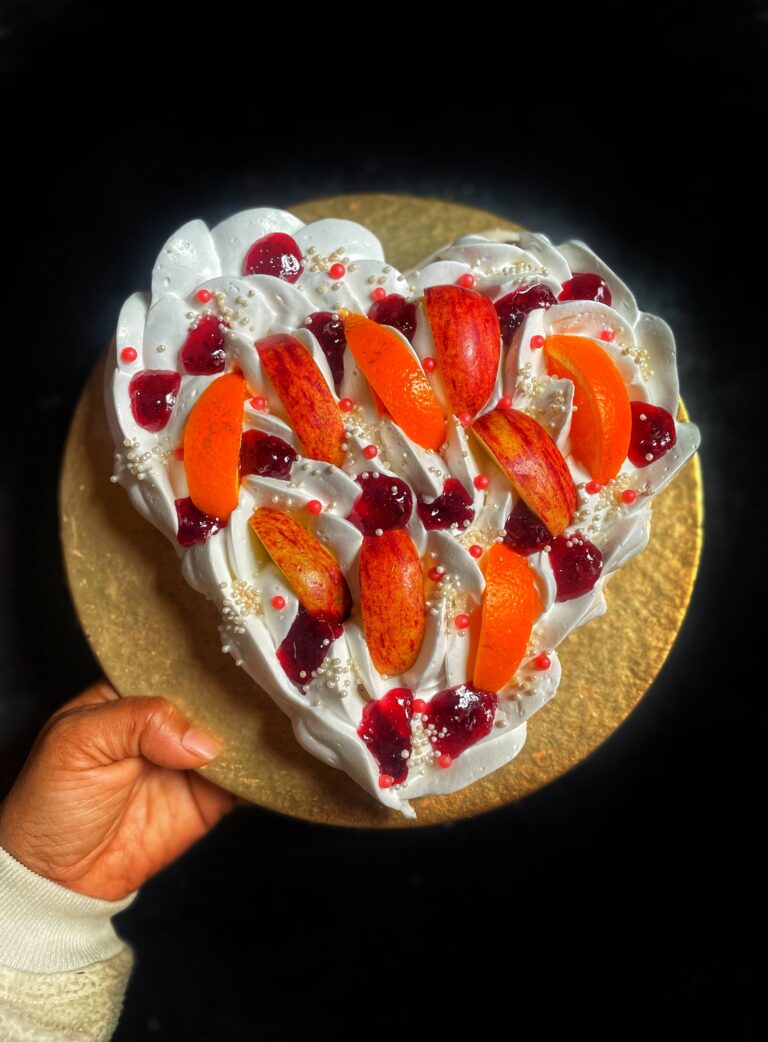

If you love the light, airy sweetness of meringue and this heart-shaped is bound to become a favorite. Delicate yet striking, it turns a handful of simple elements into a dessert that feels truly special.
The pavlova bakes up with a crisp shell that gives way to a soft, marshmallow-like center, creating a beautiful contrast in every bite. A generous layer of softly whipped cream adds richness, while fresh fruit bring brightness and a touch of natural sweetness that balances it all.
These charming desserts are perfect for moments worth celebrating- Valentine’s day, anniversaries, cozy date nights or even an ordinary day that deserves something extra. Their elegant look suggests effort and care, yet the process itself is surprisingly approachable.
One of the best parts is how personal they can be. Decorate your heart pavlova as you like, pile on your favorite fruits or keep things simple and classic. Whether you’re sharing them with someone you love or enjoying one on your own, heart-shaped pavlovas feel romantic, light and quietly impressive- proof that a beautiful dessert doesn’t have to be complicated.
The story of pavlova’s origin is famously contested. Australia and New Zealand both regard it as their own, and food historian have long debated where it first appeared. One popular account links the dessert to the Russian ballerina Anna Pavlova. In the 1930s, an Australian chef working at a Perth hotel is said to have created the dish in her honour, with colleagues remarking that it was as light and graceful as the dancer herself.
However research suggests the dessert’s roots stretch further back. Historians have pointed out that elaborate meringue-based desserts topped with cream and fruit were already common in Europe centuries earlier. These dishes travelled with migrants during the 18th and 19th centuries as people moved from Europe to places such as Australia and New Zealand. Over time, recipes were adapted to local tastes and ingredients, gradually evolving into what we now recognize as pavlova.
Yes, you can prepare a heart-shaped pavlova in advance. Once fully cooled, keep it sealed at room temperature for several days, or freeze it to extend freshness until you’re ready to decorate and serve.
Pavlovas are ideal for advance preparation, making them a stress-free option for special occasions like valentine’s day. After baking, allow the meringues to cool completely, then store them in a tightly sealed container at room temperature. They’ll keep their texture beautifully for up to one or even two weeks. The key is to keep moisture away. Hold off on adding any cream or fruit until close to serving time. Assembling the pavlovas about one to two hours before serving ensures the shells stay crisp while the centers remain soft, without turning tacky or losing their delicate structure.
2 nos. Egg White
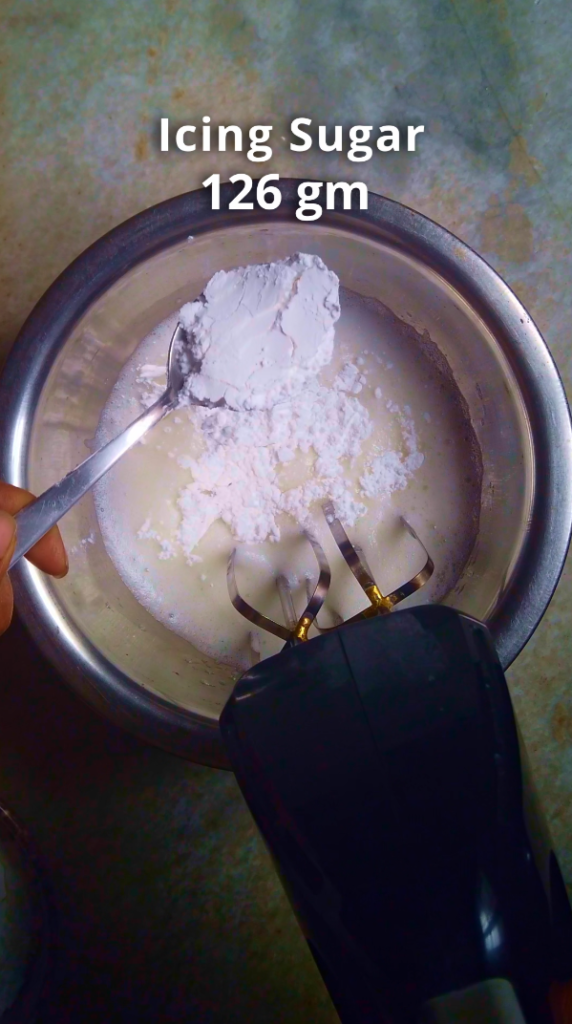
126 gm Icing Sugar
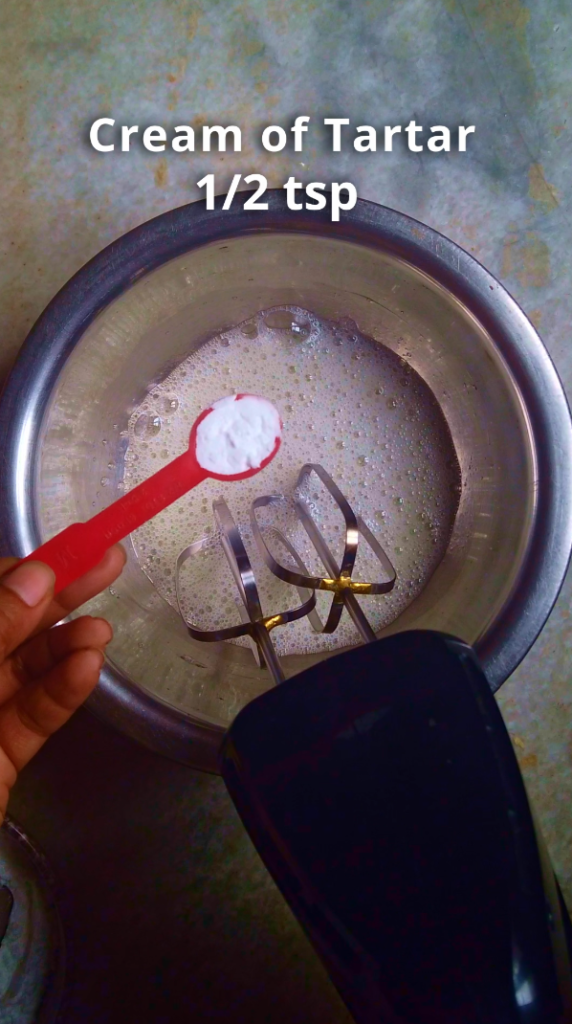
1/2 tsp Cream of Tartar
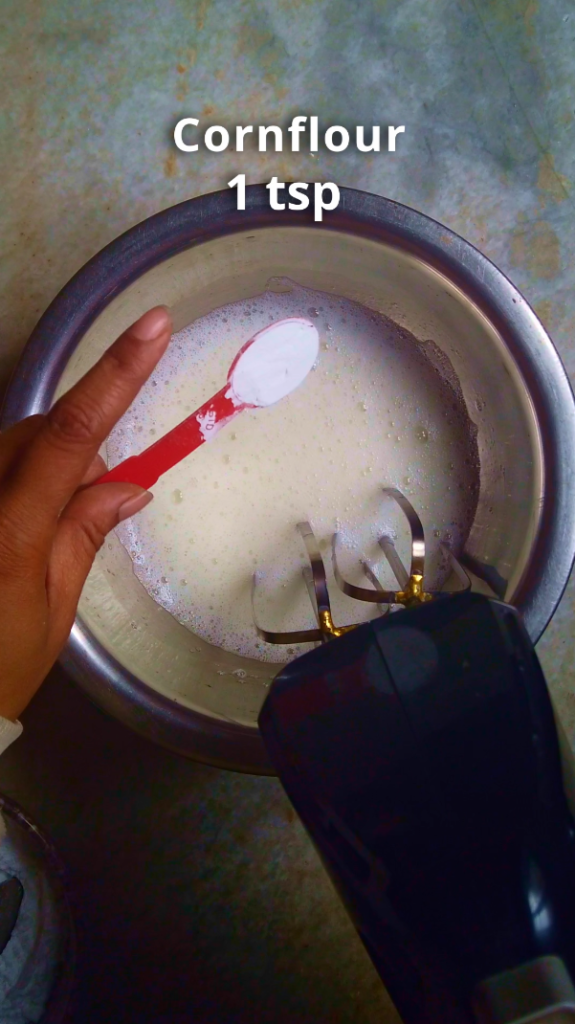
1 tsp Cornflour
1/2 cup Heavy Cream
30 gm Icing Sugar
Orange wedges
Apple wedges
Rosella jam
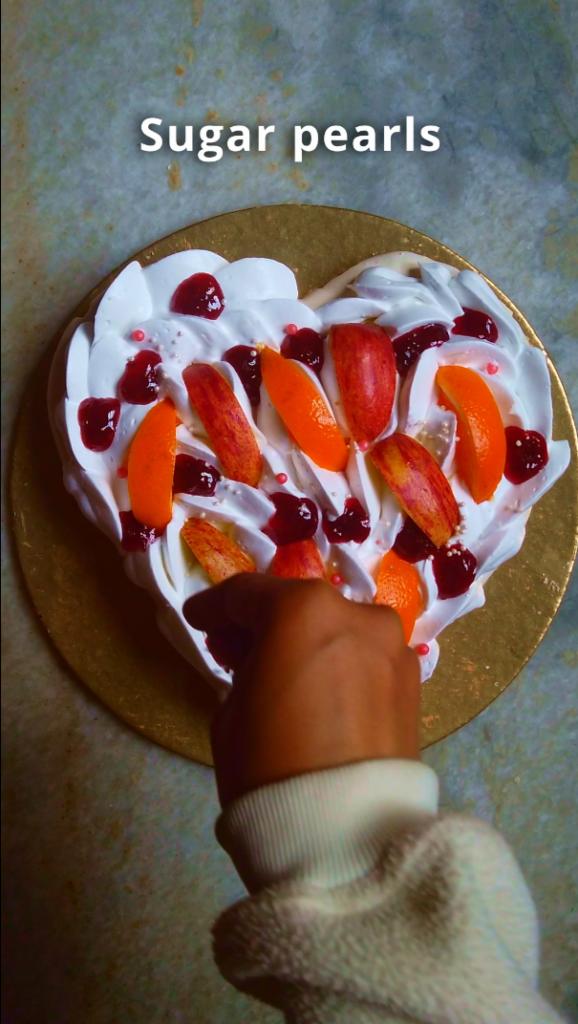
Sugar pearls
A touch of corn starch strengthens the meringue by managing excess moisture.
Clean your bowl and whisk attachment before beating the egg whites to ensure that there is no leftover marks or greasy spot that can affect your meringue mixture.
For the best results, choose room-temperature old eggs and save the leftover yolks to make custard or ice cream.
Be careful when separating the eggs, don’t let any yolk get into the egg whites.
Using icing sugar in meringue is really helpful as it mixes and dissolve a lot quicker and easier than its grainy counterpart-caster sugar and also gives a very “white” result. Icing sugar doesn’t make meringue better or worse it just make your life little bit easier. But if you already have caster sugar feel free to use that.
Gradual sugar incorporation creates a smooth, stable foam without graininess.
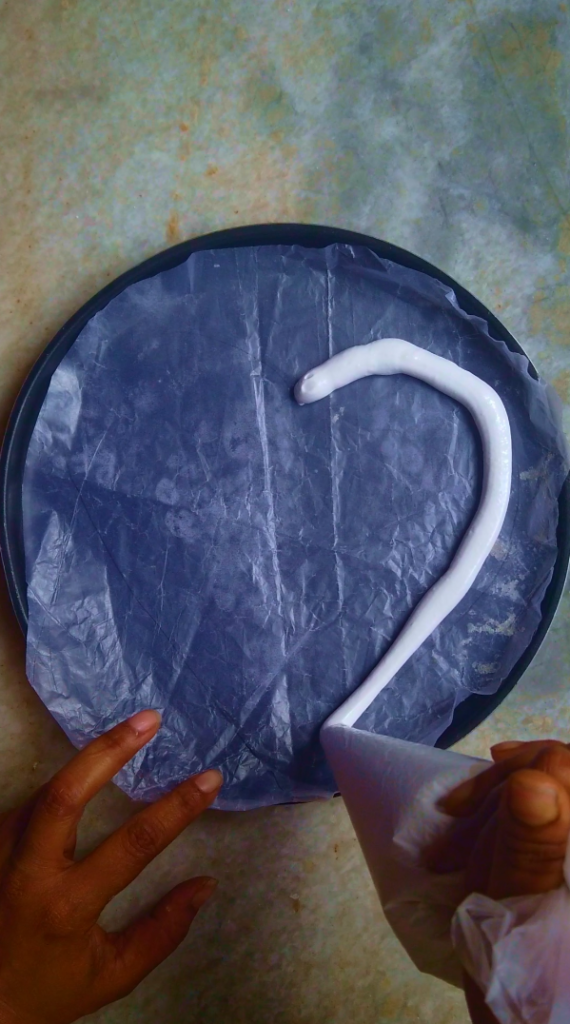
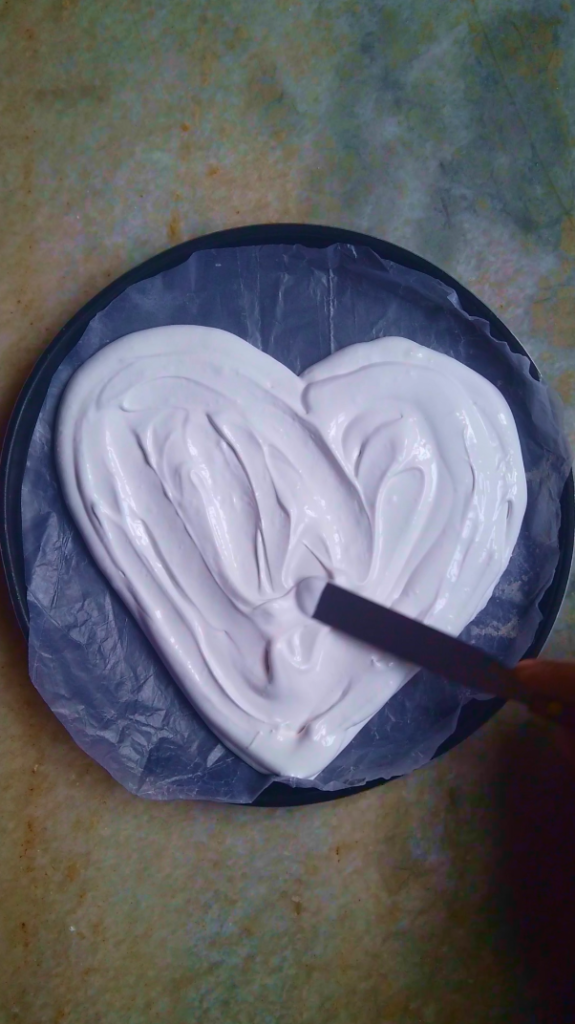
Once you have made the meringue mixture, don’t just let it sit there. Get it on the tray and into the oven as soon as you can.
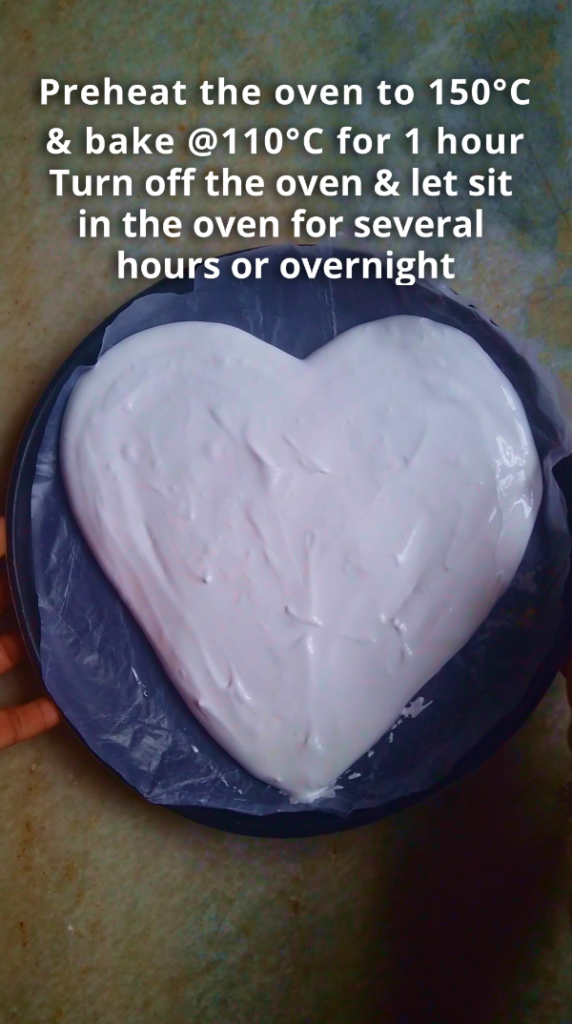
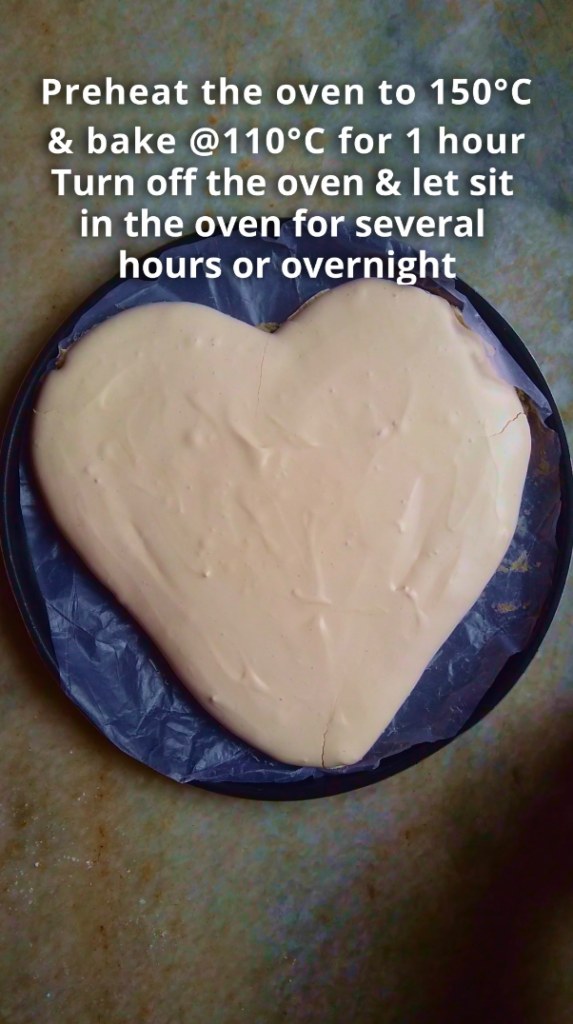
Low, steady heat and slow oven cooling allow the meringue to set gently, reducing surface cracks.
DEBJANI MONDAL
Welcome to Kitchenstagram, the home of delicious recipes, culinary inspiration and cooking adventures. I’m Debjani and I’m thrilled to be your guide through the wonderful world of food. I’m a self-taught professional baker, home chef, recipe developer, author of Kitchenstagram and an aspiring YouTuber.
My passion for food and cooking began at a very young age, when I would watch my mom and dad cook for me and my brother. My dad, in particular is a great cook whose culinary skills made a lasting impression on me. My dad would cook up a storm on special occasions by cooking variety of dishes, from delicious biriyani to samosa, fish fry, rasgullas and kachoris (sweet & spicy deep fried pastry with filling of lentils, meat or fish…>>>>>
FOLLOW ME