Easy Homemade Chicken Broth Recipe | Kitchenstagram

Mastering Homemade Chicken Stock is simpler than you think, whether you prefer the stovetop or the instant pot. With just a few basic steps, you can create a deeply flavourful base that transforms everyday dishes into something truly special. Once you taste the difference, cartons from the store won’t compare.
Slow simmering coaxes out rich flavour, body and natural goodness, producing a beautifully balanced stock that feels wholesome and comforting. The pressure cooker method offers the same depth in a fraction of the time, making it perfect for busy days without sacrificing quality.
This versatile kitchen staple forms the foundation of countless recipes, from light, clear soups to hearty stews, gravies, risottos and sauces. It’s also a smart way to make the most of leftover bones and trimmings, turning scraps into something valuable and nourishing.
Strain, cool and portion your stock so it’s ready whenever inspiration strikes. It keeps well in the freezer for months, ensuring you always have a reliable, flavourful base on hand. Once you start making it at home, it quickly becomes a non-negotiable part of your cooking routine.
Why make your own stock?
Slow-simmering bones creates a rich, full-bodied base that adds real character to soups, sauces, risottos and stews. It brings warmth and complexity that boxed versions simply can’t replicate.
Homemade stock is naturally nourishing and contains beneficial compounds like collagen that support joints, skin and digestion. It feels good knowing it’s wholesome and made from real ingredients.
When I prepare it myself, I decide exactly what goes in the pot. There’s no excess salt, preservatives, or mystery ingredients- just simple, clean goodness.
Using leftover bones or a roasted chicken frame means nothing goes to waste. I often freeze carcasses until I have enough to make a big batch, then portion and freeze it for future meals.
One chicken can stretch across multiple dishes and the bones become the foundation for even more meals. A single batch of stock can transform everyday cooking into something special without extra cost. Making stock at home is simple, practical and incredibly rewarding.
Difference between Chicken Stock and Chicken Broth:
Chicken Stock and Chicken Broth are closely related, but they’re not exactly the same. Broth is typically made by gentle cooking chicken meat along with aromatics for a shorter period. It’s lighter in body and flavour, making i ideal for sipping or using in recipes where you don’t want the liquid to overpower other ingredients.
Stock, on the other hand, is prepared primarily with bones and connective tissue. It’s simmered for a longer time, allowing more gelatin to develop. This gives stock a fuller mouthfeel and a slightly thicker consistency, especially once chilled. Because of its body and richness, stock is often used as a base for sauces, gravies and soups that rely on depth and structure.
In everyday cooking, the two can usually be swapped without major issues. However, if you’re aiming for a more robust result or building layers of flavour in a dish, stock generally delivers more intensity, while broth keeps things lighter and more delicate.
Ingredients needed for Chicken Broth:
Chicken Broth: The foundation of a rich, homemade stock. You can use bones from a roast, a store-bought rotisserie chicken, wings, backs or even an entire raw chicken. As it simmers, the bones release depth, body and natural richness into the broth.
Vegetables: A simple mix of onion, carrot and celery creates a flavourful base that supports countless soups and sauces. Rough chopping is perfectly fine and unpeeled vegetables work well as long as they’re clean. Extra vegetable trimmings can also be added for more character.
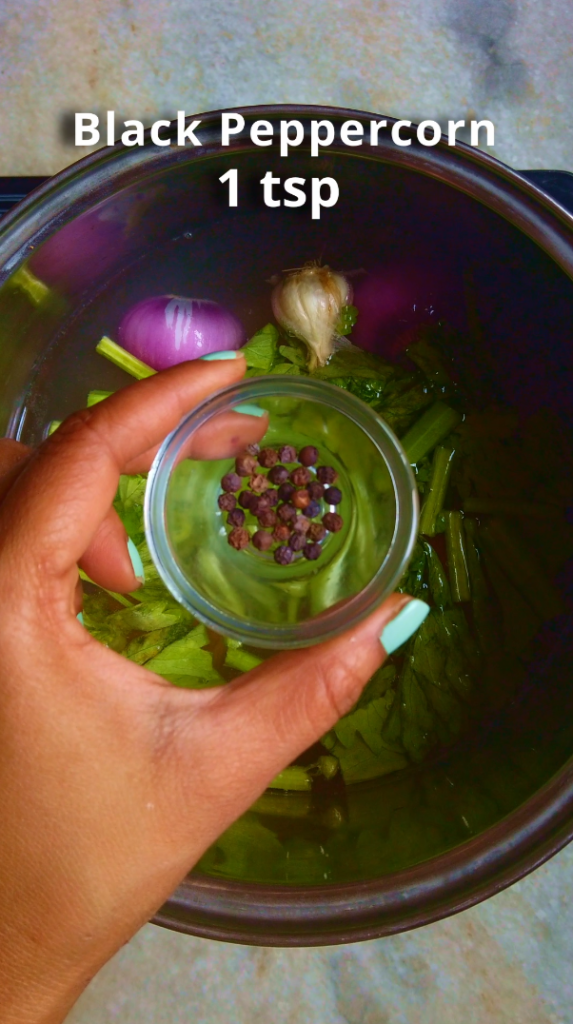
Peppercorns: Whole peppercorns add gentle warmth and subtle spice. They enhance the overall flavour without overpowering the stock, giving it a balanced, well-rounded taste.
Vegetables: A simple mix of onion, carrot and celery creates a flavourful base that supports countless soups and sauces. Rough chopping is perfectly fine and unpeeled vegetables work well as long as they’re clean, extra vegetable trimmings can also be added for more character.
Garlic: Whole cloves contribute a mellow, aromatic mote that blends beautifully during long simmer. There’s no need for fine chopping- just let them cook slowly in the pot.
Water: Add enough to fully submerge the ingredients. Clean, good-quality water ensures the final stock tastes pure and fresh.
Serving Suggestions:
The rich cooking liquid is just as valuable. Use it as a base for comforting soups, stews and risottos or to deepen the flavour of rice, quinoa and lentils. It adds warmth and body to noodle soups, vegetable stews and classic family favourites.
A mug of hot broth on its own can be soothing during colder days or when you need something light yet nourishing. For convenience, pour cooled stock into small portions and freeze, so you can easily enhance sauces, gravies and sautéed dishes anytime. Having homemade broth on hand instantly elevates everyday cooking.
Storage Tips:
For Refrigeration: Let the stock cool completely before transferring it to airtight containers. Keep it refrigerated and use within 4-5 days for best quality. As it chills, it may thicken and set this is normal and a sign of a rich, well-made stock. Once fully cold, you’ll notice a solid layer of fat on top; simply lift or spoon it off before reheating. Warm gently on the stovetop or in the microwave until fully liquid again.
For Freezing: Portion the cooled stock into freeze-safe bags or containers, about 2 cups per portion for convenience. Lay bags flat to save space and allow for quicker thawing. Label with the date and freeze for up to 6 months. Thaw overnight in the refrigerator or gently reheat from frozen.
Pro Tips:
Once your pot heats up, lower the temperature so the liquid barely bubbles. A steady simmer keeps the stock clear and refined. Vigorous boiling agitates the ingredients too much and can leave the finished stock cloudy with a heavier texture.
Think of stock as a foundation, not a finished dish. Leaving it unseasoned gives you full control when using it in soups, sauces, risottos or gravies. Since many recipes involve reducing liquid, adding salt too early can easily lead to an overly salty result.
Place your bones and aromatics in the pot first, then cover with cold water before turning on the heat. Gradual heating helps draw out flavour, collagen and nutrients more effectively than starting with hot water.
During the first hour cooking, you may notice foam rising to the surface. Skimming it off with a spoon keeps the flavour clean and the stock looking clearer.
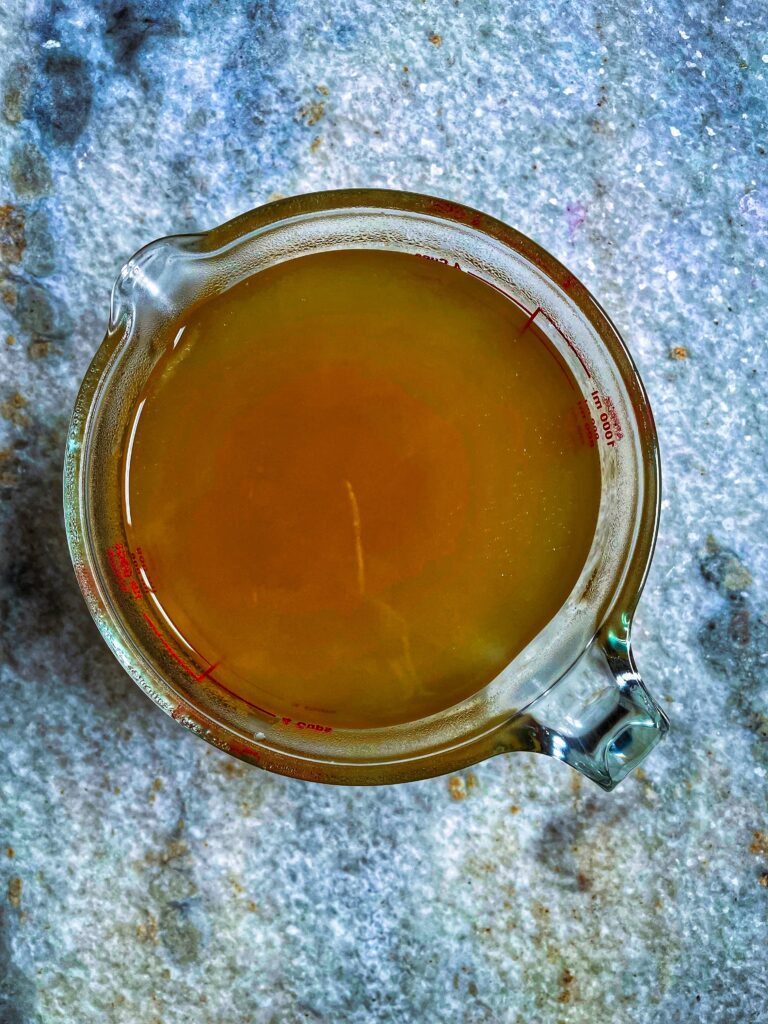
After cooking, strain the broth through a fine mesh strainer lined with cheesecloth for more clearer broth.
After straining the broth, strain out the solids and divide the liquid into smaller containers so it cools faster, once chilled, remove any hardened fat from the top before storing. Refrigerate for several days or freeze for long-term use.
Ingredients
1 kg Chicken Carcass
1 no. Carrot, cut into chunks
1 no. Celery stem with leaves, cut in four
1 no. Onion, halved
1 Whole Garlic Head
1 tsp whole Peppercorn
Cold Water
Preparation
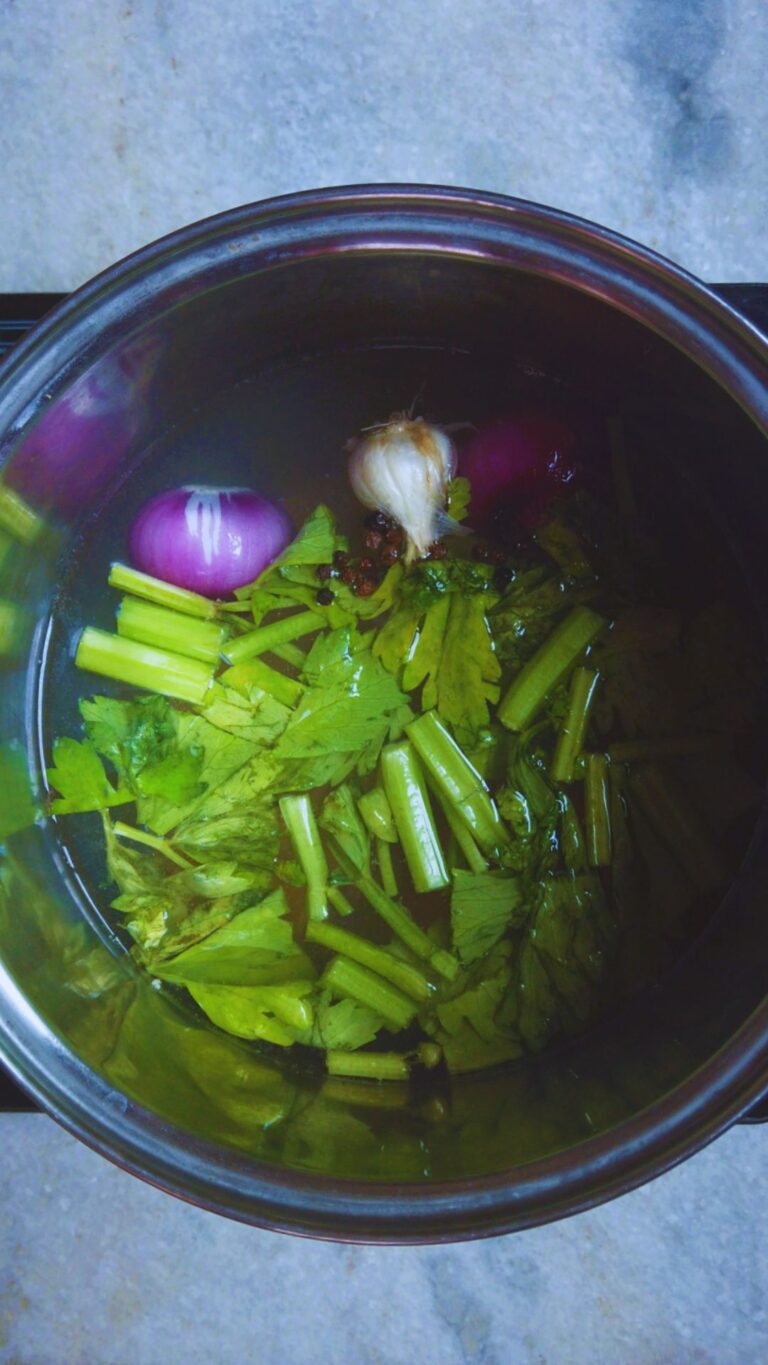
- Step 1: In a stock pot combine water, chicken carcass, celery, carrots, onion, garlic and black peppercorn.
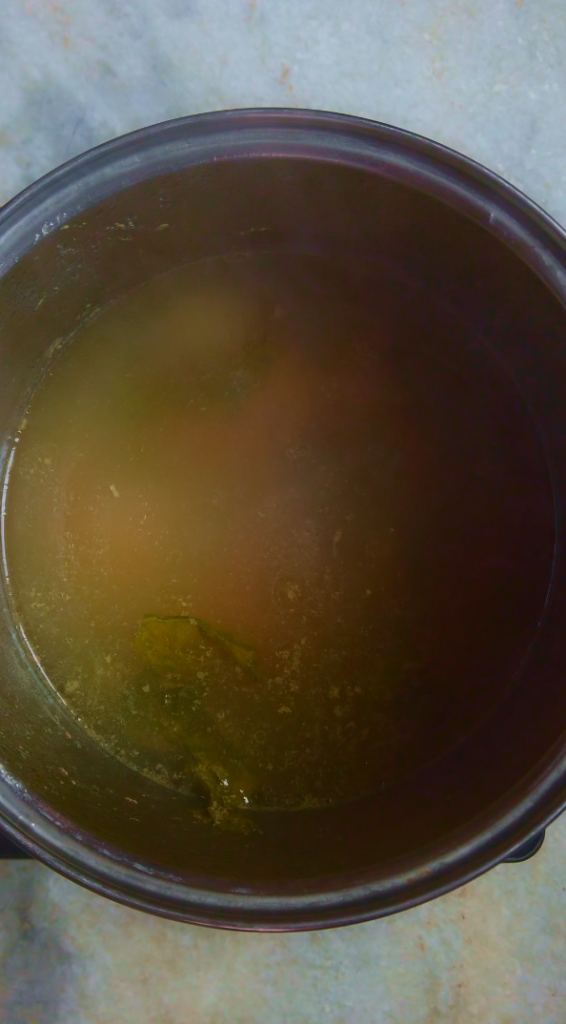
- Step 2: Bring to a gentle simmer, cover and cook on low heat for 1 hour. Once done, remove the chicken from the broth and set aside.

- Step 3: Ladle the stock through a fine mesh strainer lined with cheesecloth and transfer the strained broth to jars.

- Step 4: Use immediately or save for later. Refrigerate or freeze the broth for future use. Enjoy!!
About Me

DEBJANI MONDAL
Welcome to Kitchenstagram, the home of delicious recipes, culinary inspiration and cooking adventures. I’m Debjani and I’m thrilled to be your guide through the wonderful world of food. I’m a self-taught professional baker, home chef, recipe developer, author of Kitchenstagram and an aspiring YouTuber.
My passion for food and cooking began at a very young age, when I would watch my mom and dad cook for me and my brother. My dad, in particular is a great cook whose culinary skills made a lasting impression on me. My dad would cook up a storm on special occasions by cooking variety of dishes, from delicious biriyani to samosa, fish fry, rasgullas and kachoris (sweet & spicy deep fried pastry with filling of lentils, meat or fish…>>>>>
FOLLOW ME
My Latest Posts
- post 1
- post 2
- Step 7: To serve, in a glass add ice cubes, mango syrup, black salt, prepared masala, mix well. Then add ice cold water, mix well.