
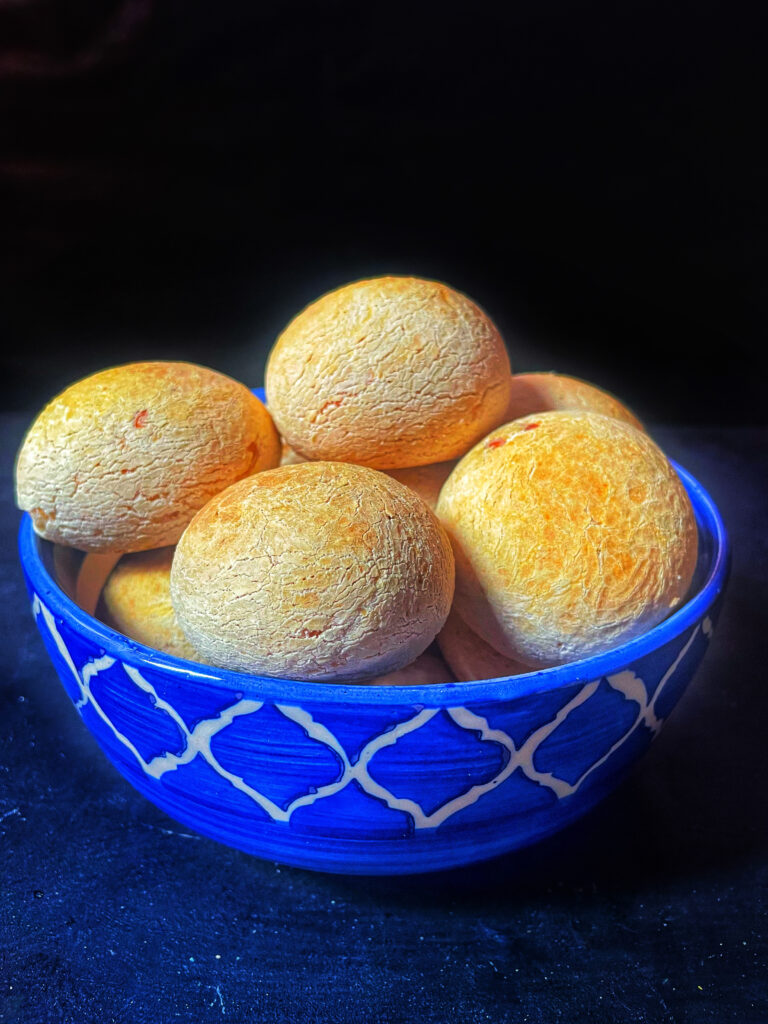


Pão de Queijo, or Brazilian Cheese Bread, is a delicious gluten-free and what-free treat, perfect for those with gluten intolerance problem. Made with tapioca flour, eggs, milk and cheese, these light and chewy rolls are ready under 20 minutes. They have a crispy exterior and a soft, cheesy interior, making them perfect for breakfast, brunch or a snack. Enjoy them plain or with marinara sauce for extra flavour. For variety, try adding Italian seasoning or experiment with different cheese instead of Parmesan. This quick, no-yeast recipe is absolutely irresistible and a must try for cheese lovers.
The combination of cheeses enhances the flavour of Pão de Queijo, or Brazilian Cheese Bread. I used a mix of cheddar and mozzarella, but any cheese works, bringing slight variations in taste. The bread’s unique texture, akin to a pop over, makes it a delightful snack or side dish. Whether enjoyed warm on its own or paired with coffee, Pão de Queijo is a must-try treat for cheese lovers.
Pão de Queijo, or Brazilian Cheese Bread, can be prepared in two ways, both versions deliver the irresistible cheesy flavour of this Brazilian favourite,
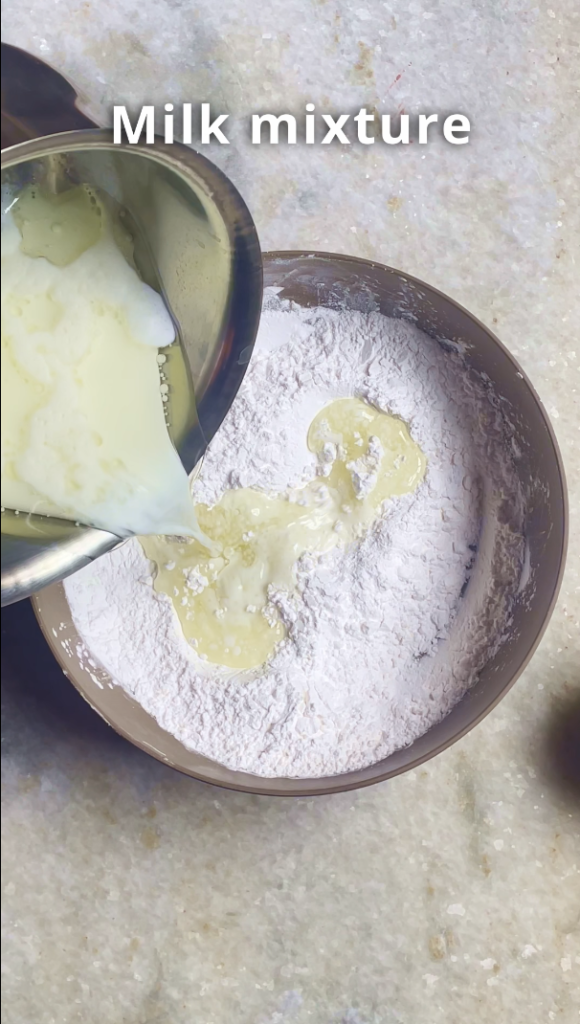
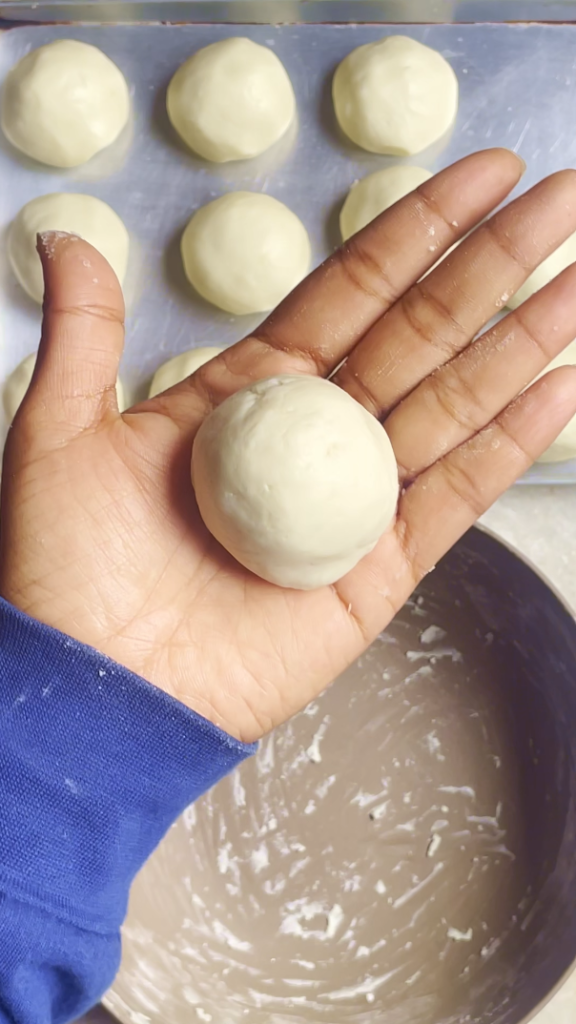
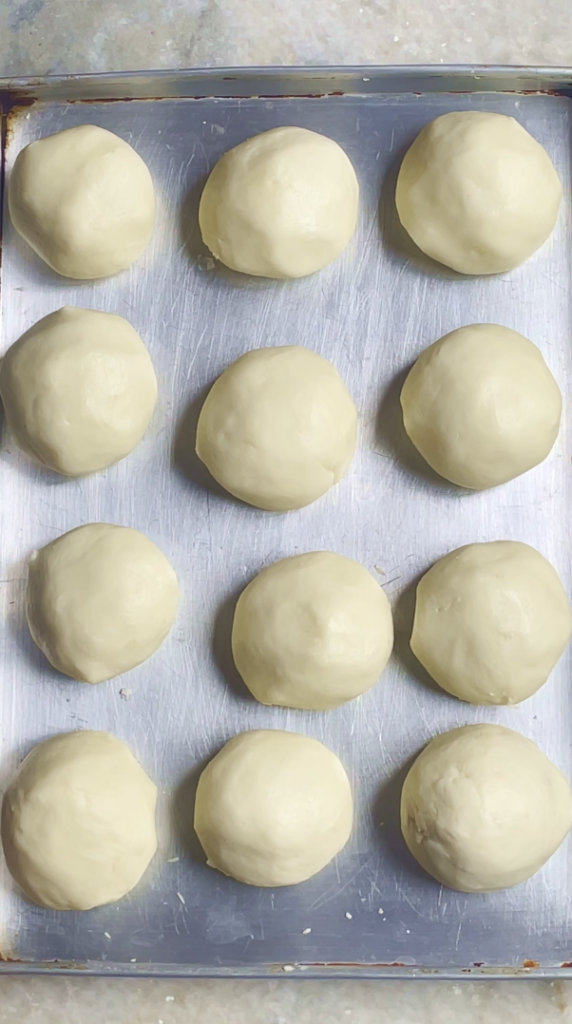
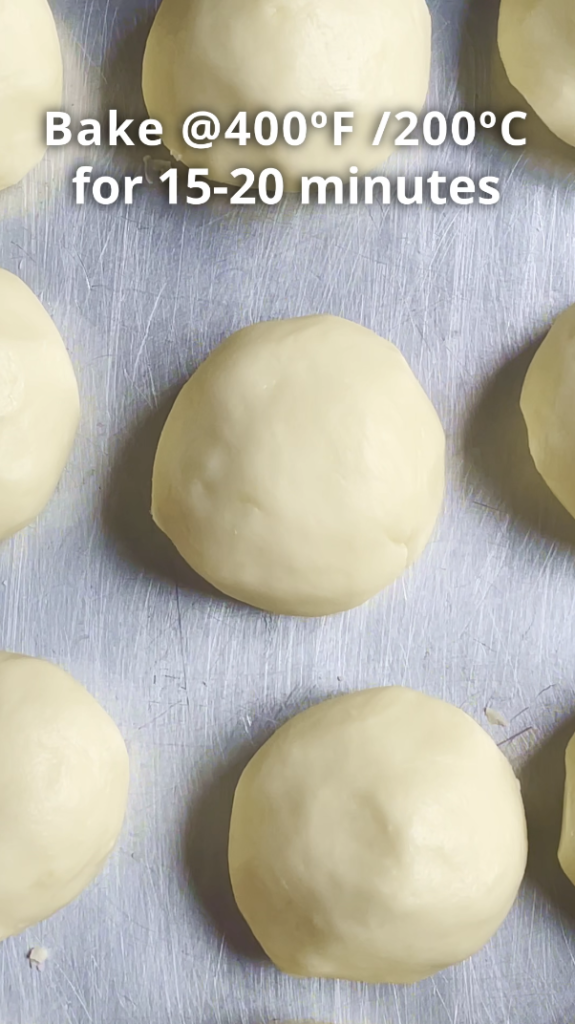
Traditional method: The wet ingredients, (milk and oil) are heated, then mixed with tapioca flour before eggs and cheese are incorporated. The dough is shaped into balls and baked, creating rolls with a crisp exterior and a soft, chewy center.
Shortcut version: All ingredients are blended into a thin batter and poured into a muffin tin. These bake into airy, puffy rolls with a hollow center that slightly deflates after cooling. The texture remains chewy but is lighter and less dense, with a thinner, delicate crust.
Making Pão de Queijo, or Brazilian Cheese Bread requires a just a few ingredients. Here’s what you’ll need:
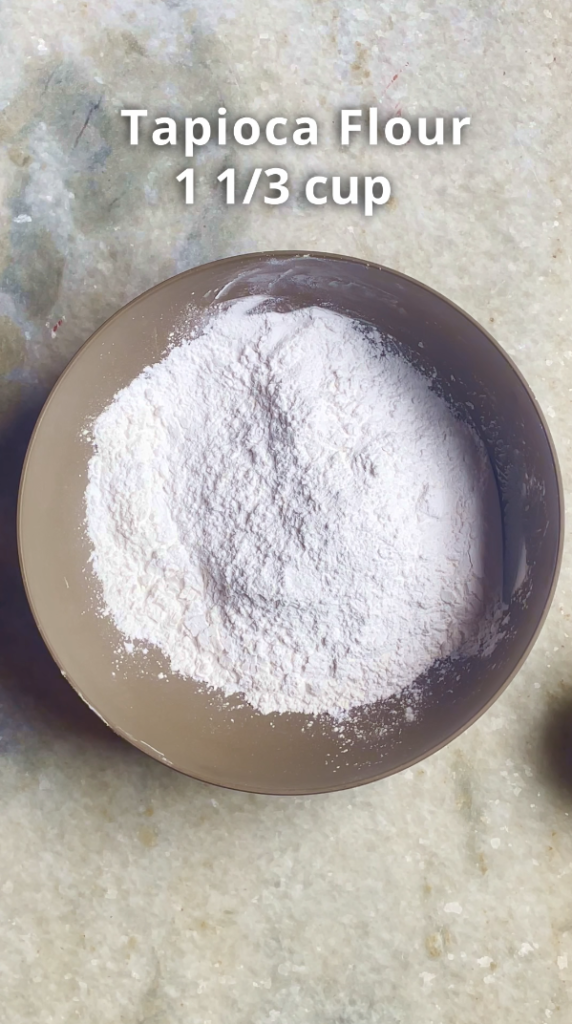
Tapioca Flour: The key ingredient in this bread is Tapioca flour, a finely milled starch derived from the cassava root. Cassava also known as manioc or yuca, originated from northern Brazil. Tapioca starch has a unique. Slightly squeaky texture, similar to corn or potato starch. When hydrated and cooked, it develops a chewy consistency reminiscent of mochi. These qualities give it a melted cheese-like texture, even before adding any cheese. This characteristic, combined with the salty, savory cheese flavour, makes each bite of this bread taste like warm, gooey cheese wrapped in a doughy embrace.
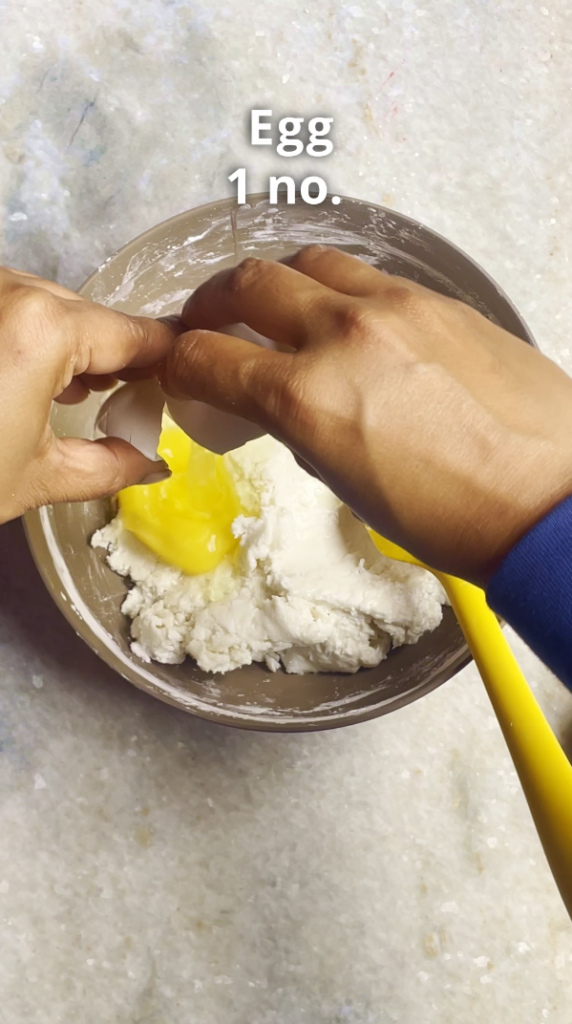
Egg: Eggs act as a binding agent and contribute to the chewy texture of the bread. They help provide structure and elasticity.
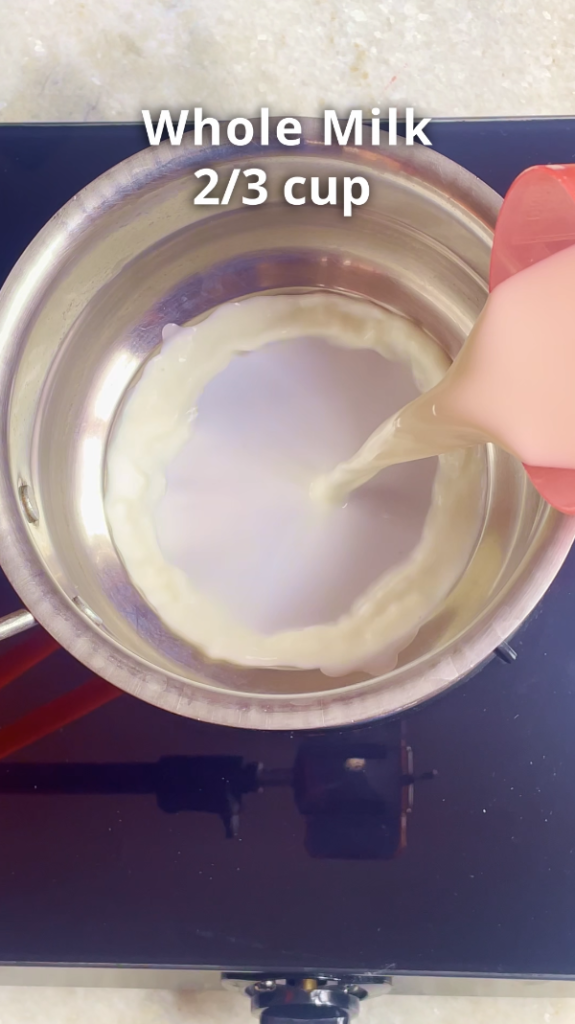
Milk: This recipe is versatile and works with various types of milk. However, for the best results, I recommend using whole milk, milk with higher fat content. Feel free to use any kind available to you. Even plant-based milk options, such as almond or soy milk, can also be used.
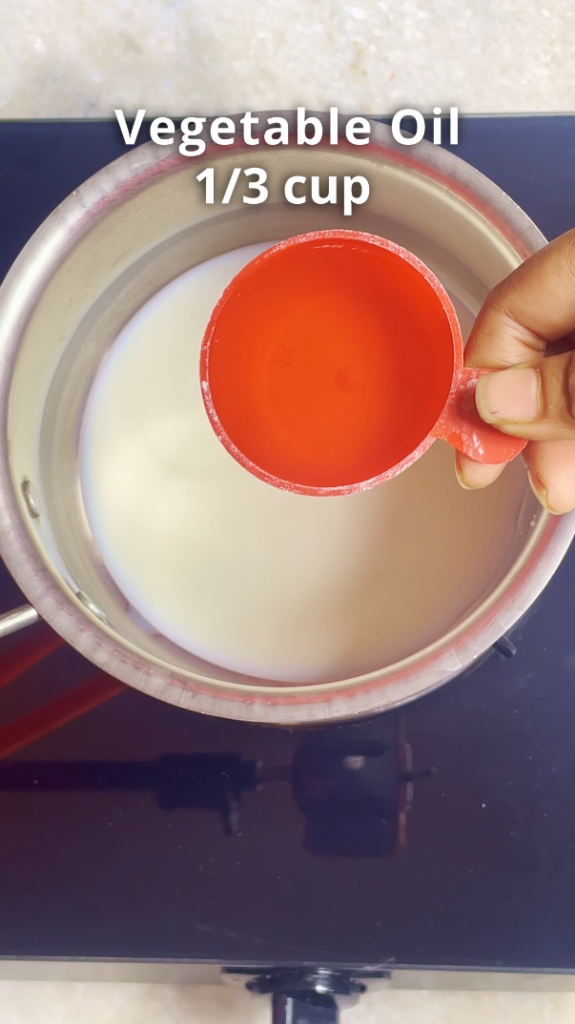
Oil: Any neutral-flavored oil, such as vegetable, canola or sunflower oil, works well in this recipe. The oil helps maintain moisture and contributes to the bread’s tender texture.
Salt: Salt is essential to prevent the bread from being bland.
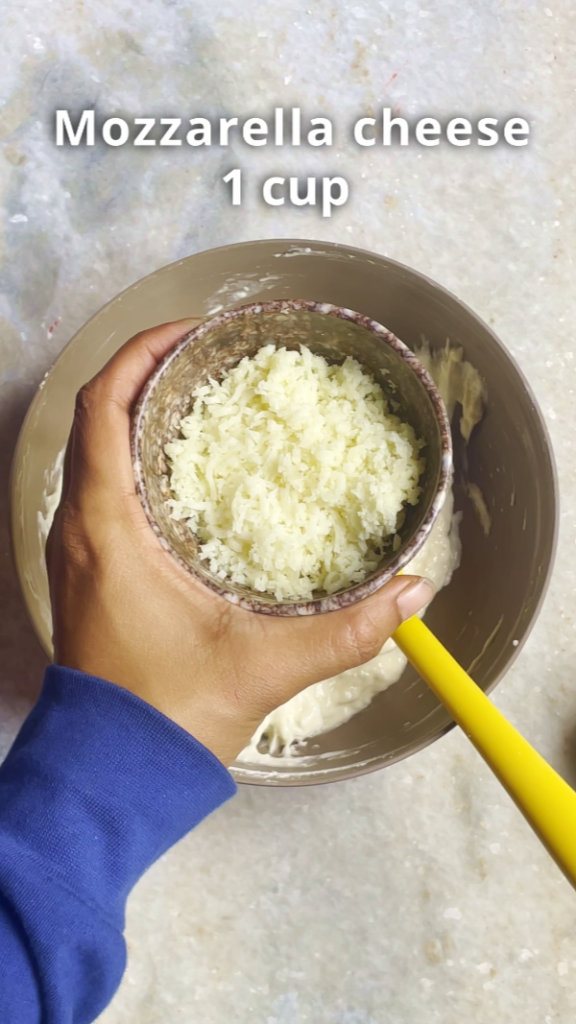
Cheese: Most recipes call for queso fresco. The most commonly used cheese typically has the crumbly consistency of Mexican queso fresco, the stretch of mozzarella and the saltiness of parmesan. Feel free to experiment with different cheeses to find your perfect combination. I personally prefer a mix of mozzarella and cheddar cheese.
Yes! While these are best enjoyed fresh, you can prepare the dough or batter in advance. Store it in an airtight container in the refrigerator for up to two days. Chilling also helps firm up the mixture if it’s too runny, making it easier to handle and bake.
Yes, you can freeze Can Pão de Queijo, or Brazilian Cheese Bread. Instead of freezing the baked bread, freeze the dough. Scoop the dough into balls and place them on parchment paper. Once frozen, transfer them to an airtight container or zip-lock bag and store for up to 3 months. Bake them straight from frozen, adding a few extra minutes to the baking time for best results.
1 1/3 cup Tapioca Flour
1 no. Egg
2/3 cup Whole Milk
1/3 cup Vegetable Oil
1 tsp Salt
1 cup Mozzarella cheese
1/2 cup Cheddar cheese
1 cup Tapioca Flour
1 no. Egg
1 cup Whole Milk
1/4 cup Vegetable Oil
Salt to taste
1/2 cup Mozzarella cheese
1/2 cup Cheddar cheese
DEBJANI MONDAL
Welcome to Kitchenstagram, the home of delicious recipes, culinary inspiration and cooking adventures. I’m Debjani and I’m thrilled to be your guide through the wonderful world of food. I’m a self-taught professional baker, home chef, recipe developer, author of Kitchenstagram and an aspiring YouTuber.
My passion for food and cooking began at a very young age, when I would watch my mom and dad cook for me and my brother. My dad, in particular is a great cook whose culinary skills made a lasting impression on me. My dad would cook up a storm on special occasions by cooking variety of dishes, from delicious biriyani to samosa, fish fry, rasgullas and kachoris (sweet & spicy deep fried pastry with filling of lentils, meat or fish…>>>>>
FOLLOW ME