
Meringue Mushrooms Recipe | Kitchenstagram

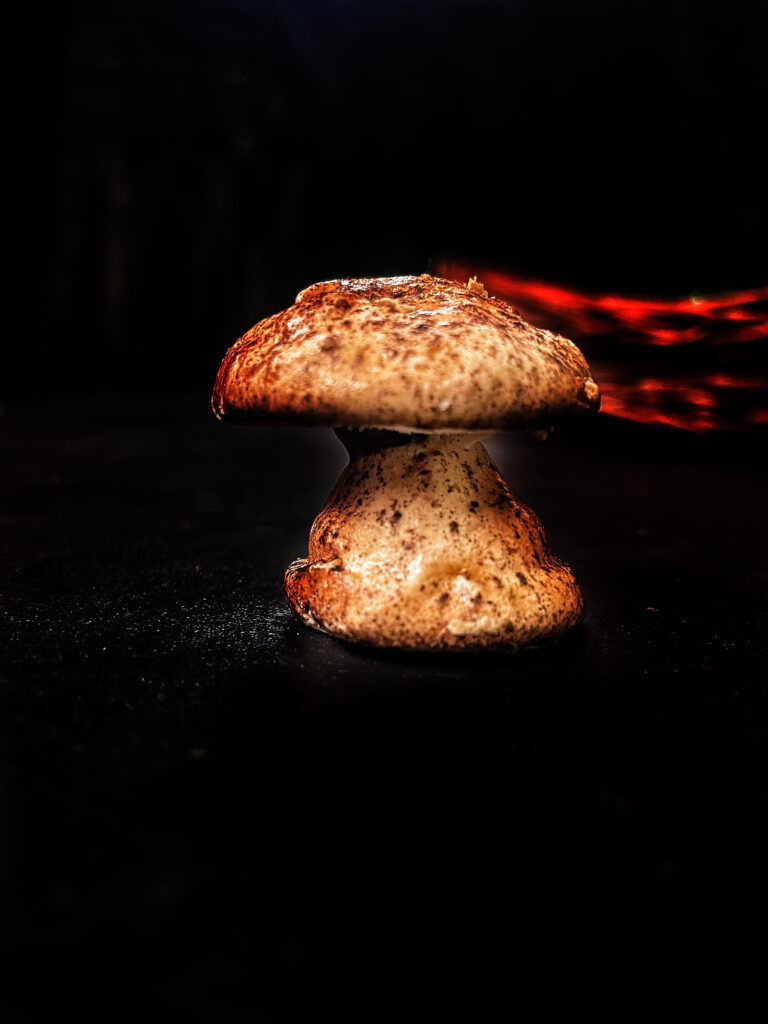
The holiday season is synonymous with joy, warmth and delightful array of sweet treats. Among the treasures adorning Christmas cookie platters and enchanting the charm of Yule Log Cake, one enchanting creation stands out – the whimsical Meringue Mushroom. These adorable cookies are not only a classic component of a Buche de Noel Cake but also make a delightful homemade gift. While they may take some time to dry out in the oven, creating this delightful treats is surprisingly easy, making them a perfect addition to your festive baking repertoire. This recipe yields about 14-15 meringue mushrooms.
Meringue, the key ingredient in these enchanting mushrooms, is a versatile confection known for its silky sweetness and stability. It can be spooned onto pies, spread into pavlova disks, or piped into macaron cookies. The beauty of meringue lies in its simplicity and the myriad possibilities of flavouring. Cream of tartar, a crucial stabilizing agent, ensures that the egg whites maintain their structure, preventing the cookies from turning hollow. The importance of using cream of tartar cannot be overstated, as it is an inexpensive ingredient that makes a significant difference in meringue recipes.
These meringue mushrooms are a classic component of a Buche de Noel Cake, adding a ouch of woodland whimsy to the festive dessert. Despite their intricate appearance, they are surprisingly easy to make, requiring neither special skills nor fancy equipment. Their crisp exterior and soft, chewy center make them a delightful treat.
The process begins by piping the mushroom stems, allowing for creativity and variation. The stems can be fat or thin, straight or bent, embracing the uniqueness found in nature. The imperfections in the stems contributes to the natural look of the mushrooms. The key is to avoid stems that are too thin or tall, ensuring they stand upright during baking. Next, the round caps for the mushrooms are piped, with an emphasis on achieving smooth mounds rather than points. A damp finger can be used to gently smooth the surface of the caps embracing imperfection for a natural appearance. Making a variety of sizes enhances the visual appeal to the mushrooms. A dusting of sifted cocoa powder provides the finishing touch.
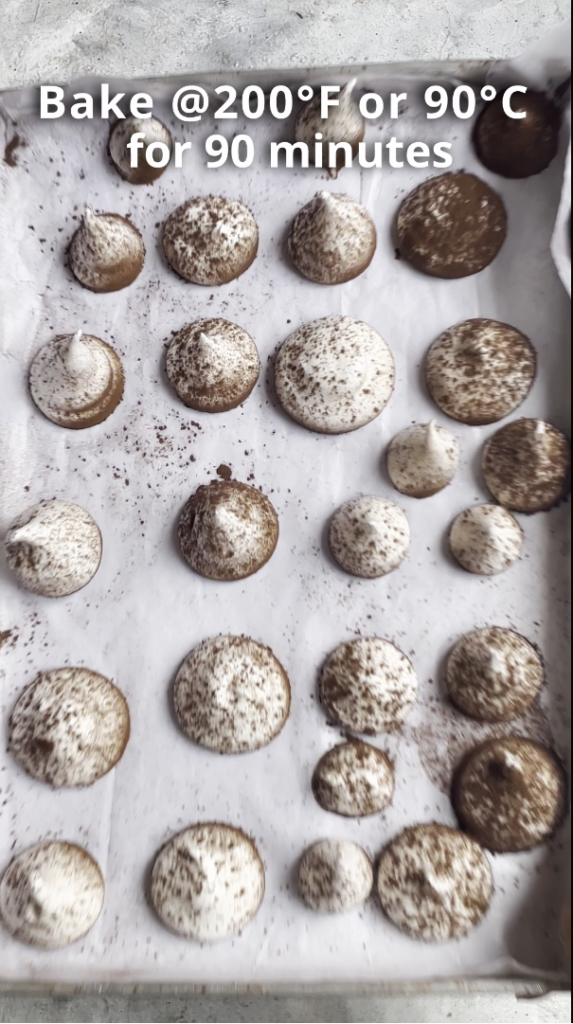
Meringue bakes at a low temperature (200° F or 90° C) for 90 minutes, allowing the meringue to dry out slowly. The resulting pieces should easily lift from the parchment paper, feeling light and dry to touch. The low and slow baking process ensures that the mushrooms maintain their shape and texture. Once the meringue stems and caps are baked and cooled, the assembly process begins. A small, sharp knife or toothpick is used to crave a small hole in the bottom of each mushroom cap while the meringue is still soft. Melted chocolate serves as the “glue” to attach the stems to the caps. The mushrooms are assembled upside down until the chocolate hardens, preventing any drips down the stems. For added detail, a touch of chocolate can be spread across the bottom of the cap to resemble the gills on the underside of a mushroom.
These charming meringue mushrooms can be served with coffee. They also make delightful decorations for other desserts, such as the Buche de Noel Cake or any other cake. Alternatively, they can be packaged in a charming basket as a thoughtful homemade gifts, perfect for the holidays. These mushrooms can be stored in a ziplock bag on an airtight container for up to one month.
Ingredients
1 Egg white
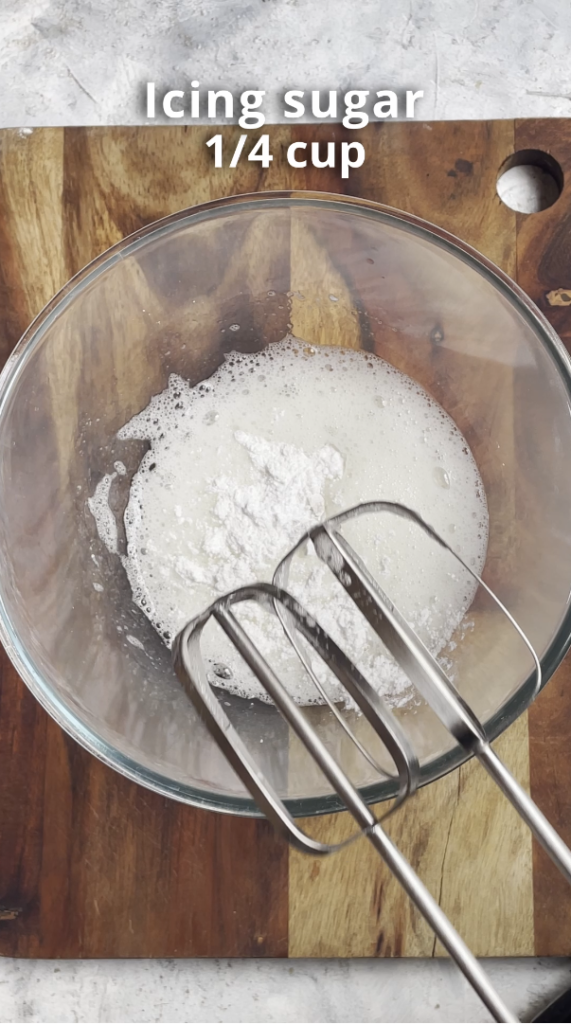
1/4 cup Icing sugar
1/4 tsp Cream of tartar
1/4 cup Chocolate ( milk or dark chocolate)
1/4 cup Cocoa powder
Preparation
- Step 1: Preheat the oven to 200°F or 90°C and prepare a baking sheet with parchment paper.
- Step 2: Ensure the bowl and the whisk attachment are clean, as we don’t want any greasy spot or fat on any of our equipment. To ensure its clean blot some vinegar or lemon juice on a paper towel and wipe off the inside of the bowl and the whisk attachment.
- Step 3: Add egg whites and cream of tartar in a bowl. Then start beating the egg whites until frothy and continue to beat until soft pick is form.
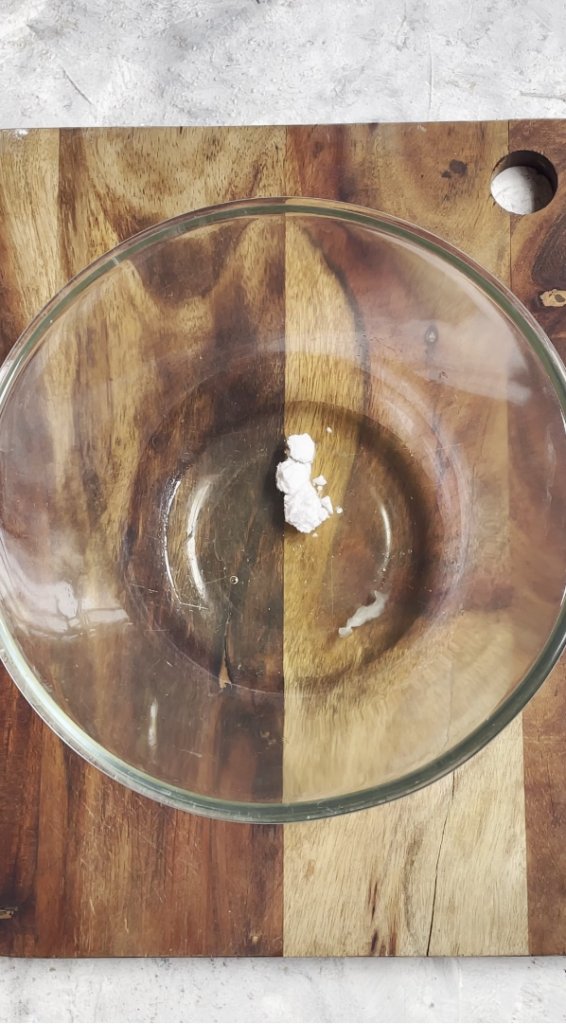
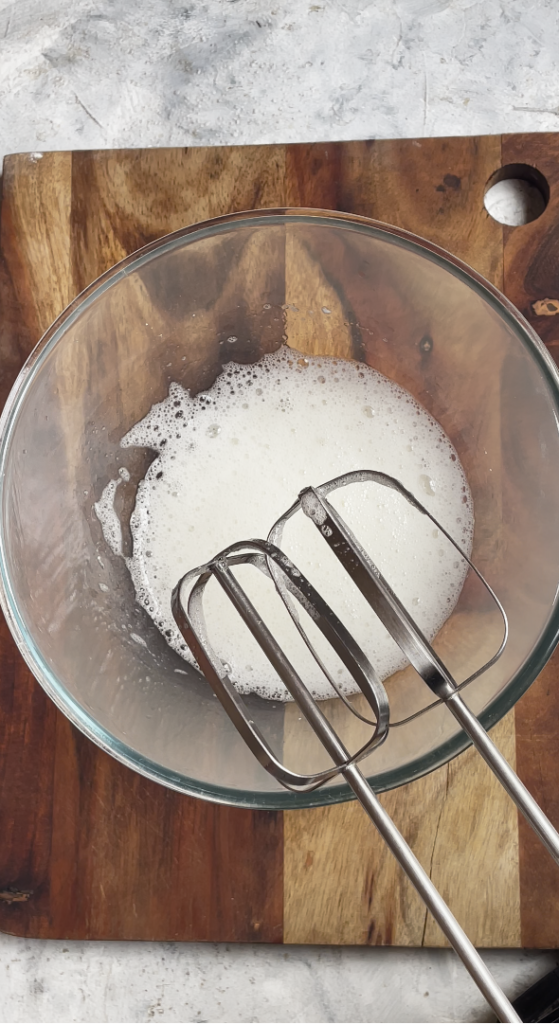
- Step 4: Then increase the speed, gradually add sugar and beat until shiny stiff peaks form. Then spoon the meringue into a pastry bag fitted with a 1/2-inch round tip.
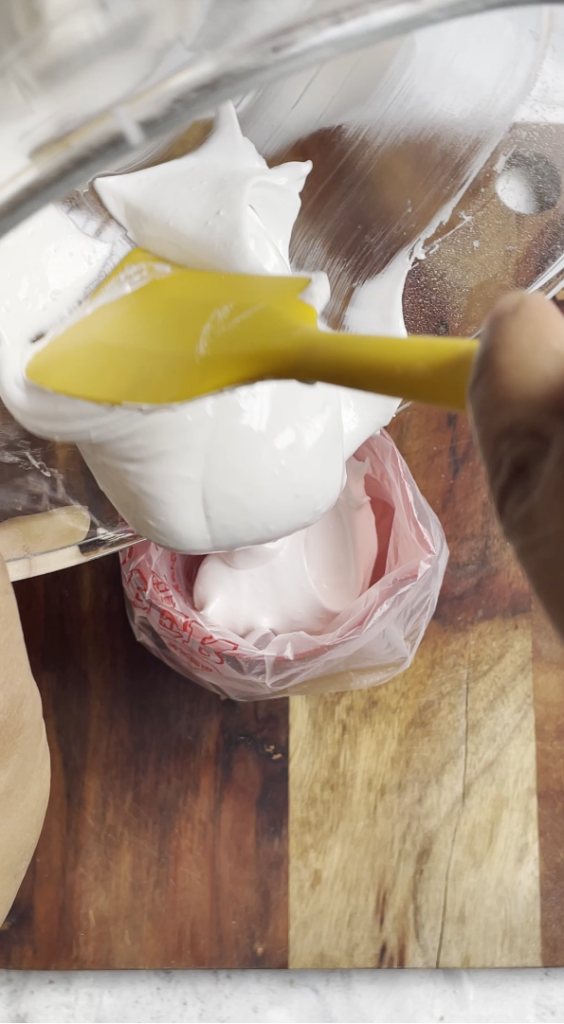
- Step 5: Pipe the mushroom stems, creating bases and tapering stems about 1 1/2 inches tall. Then pipe the mushroom caps , creating round discs about 2 inches wide and 1 inch high. Smooth the tops with a damp finger or with the piping tip moving aside with a short circular motion to give them a natural look as though they came of a dirty forest floor.
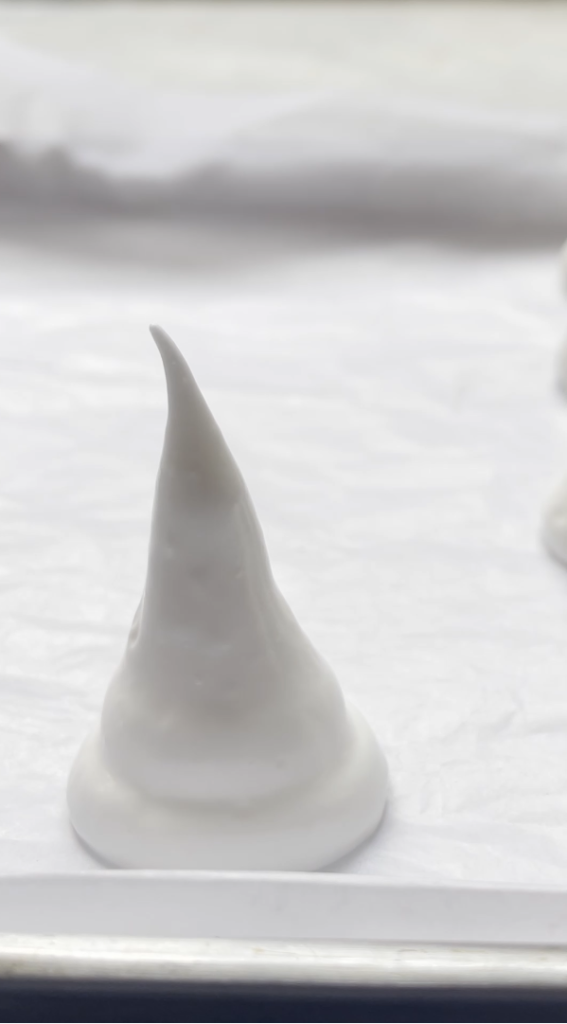
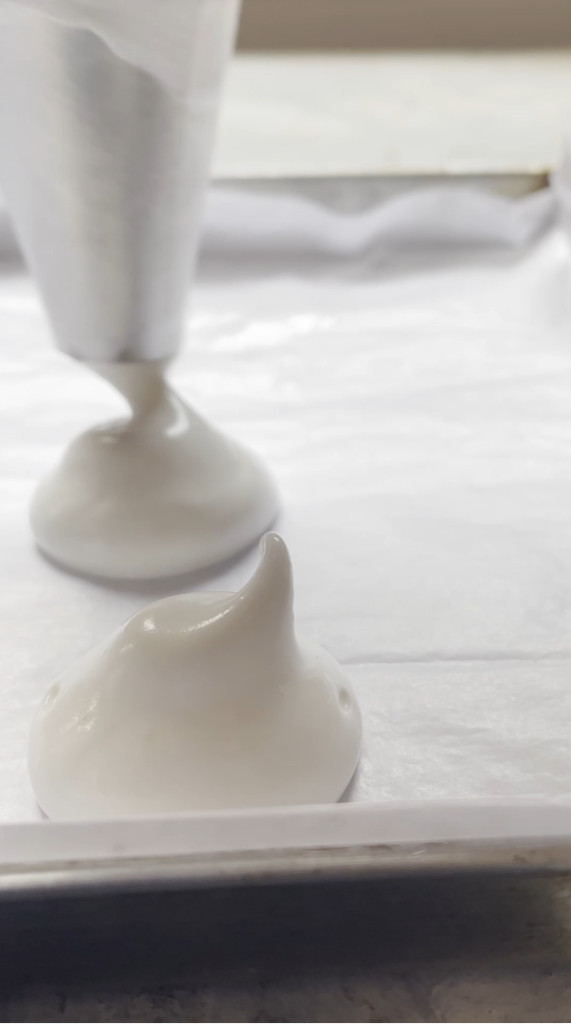
- Step 6: Then sprinkle them with a little cocoa powder and either blow on them or fan them with a paper or file folder to remove the excess cocoa powder.
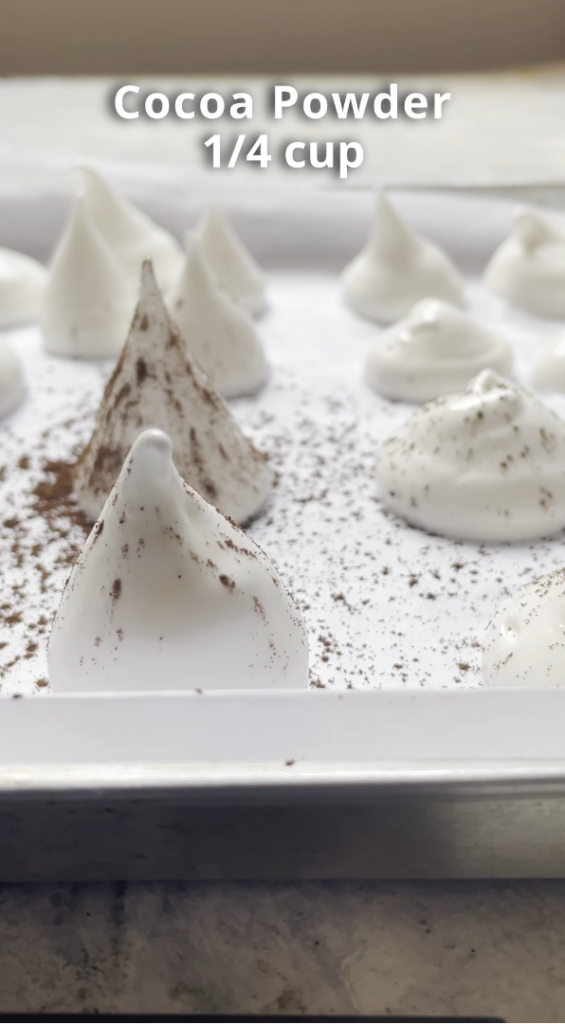
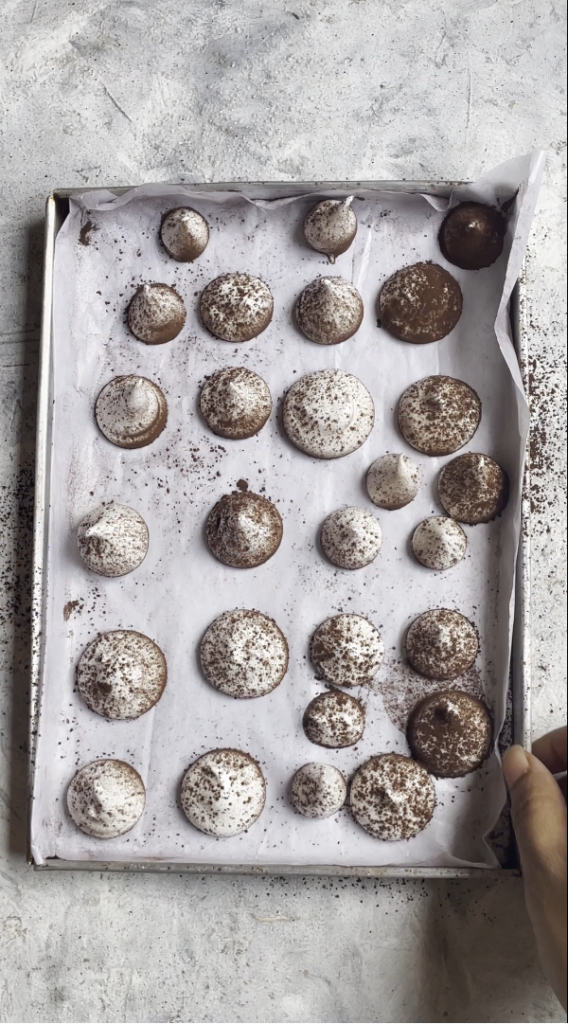
- Step 7: Then bake them for 90 minutes, until the meringues are hard and dry. Turn off the oven and let them sit for several hours or overnight.
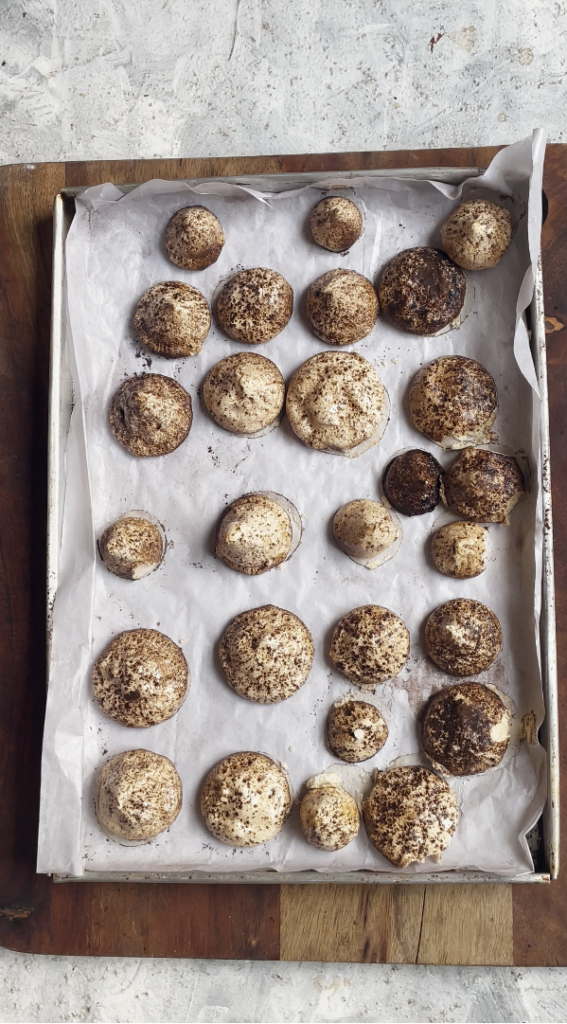
- Step 8: Next, melt chocolate and crave a small hole in the bottom of the mushroom cap and dip the stem in melted chocolate before attaching it to the cap.
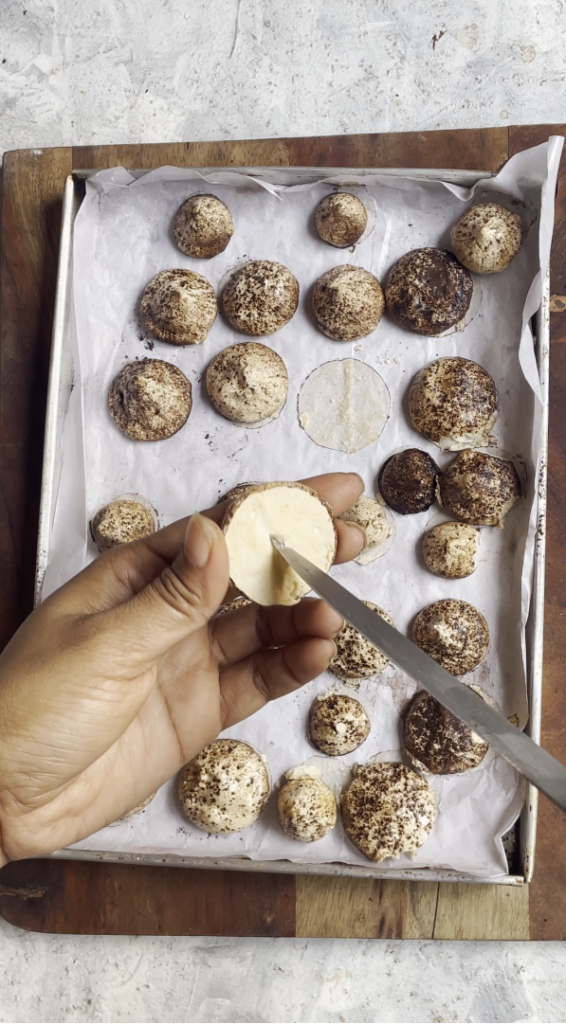
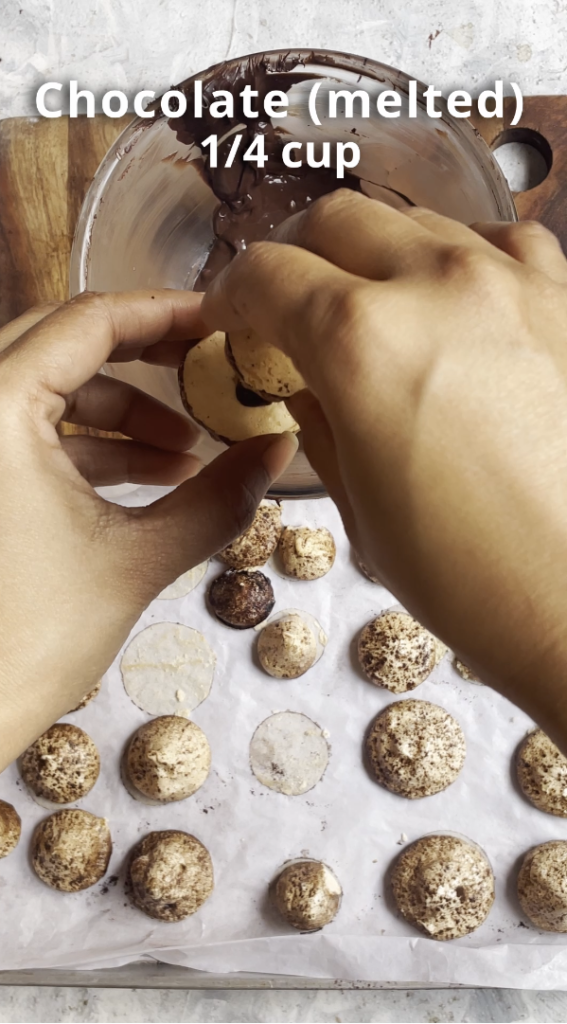
- Step 9: Allow the chocolate to harden with the mushrooms upside-down. Optionally spread a little chocolate on the cap to resemble gills.
- Step 10: Store the meringue mushrooms in a ziplock bag or airtight container for up to one month.
Tips:
Clean your bowl and whisk attachment before beating the egg whites to ensure that there is no leftover marks or greasy spot that can affect your meringue mixture.
Be careful when separating the eggs, don’t let any yolk get into the egg whites.
Using icing sugar in meringue is really helpful as it mixes and dissolve a lot quicker and easier than its grainy counterpart-caster sugar and also gives a very “white” result. Icing sugar doesn’t make meringue better or worse it just make your life little bit easier. But if you already have caster sugar feel free to use that.
Incorporate the sugar slowly as you beat it through the meringue.
Once you have made the meringue mixture, don’t just let it sit there. Get it on the tray and into the oven as soon as you can.
Avoid placing the meringue on a cake or in a refrigerated environment until immediately before serving to prevent softening.
About Me

DEBJANI MONDAL
Welcome to Kitchenstagram, the home of delicious recipes, culinary inspiration and cooking adventures. I’m Debjani and I’m thrilled to be your guide through the wonderful world of food. I’m a self-taught professional baker, home chef, recipe developer, author of Kitchenstagram and an aspiring YouTuber.
My passion for food and cooking began at a very young age, when I would watch my mom and dad cook for me and my brother. My dad, in particular is a great cook whose culinary skills made a lasting impression on me. My dad would cook up a storm on special occasions by cooking variety of dishes, from delicious biriyani to samosa, fish fry, rasgullas and kachoris (sweet & spicy deep fried pastry with filling of lentils, meat or fish…>>>>>
What is “Marry Me” Chicken?
FOLLOW ME
My Latest Posts
- post 1
- post 2
